Emergency Leak Control on the Road: Temporary Fixes Until the Tech Arrives (mobile repair guide)
When rain starts sneaking through your roof seams or a skylight gasket lets go, the goal is simple: stop the water now and protect the interior until a mobile repair technician can take over. The steps below are road‑tested, safe, and meant to buy you time without creating a bigger mess for later. Think of this as a first‑aid kit for your RV’s seals.
First, stay safe
Water and height are a risky pairing. Before anything else:
- Park on level ground, set the brake, and wait out lightning or high winds.
- Turn off 120V power at the breaker if water is near outlets or fixtures.
- Use a stable ladder with a spotter. Shoes with a good grip beat flip‑flops every time.
If conditions aren’t safe, pause and call mobile repair right away.
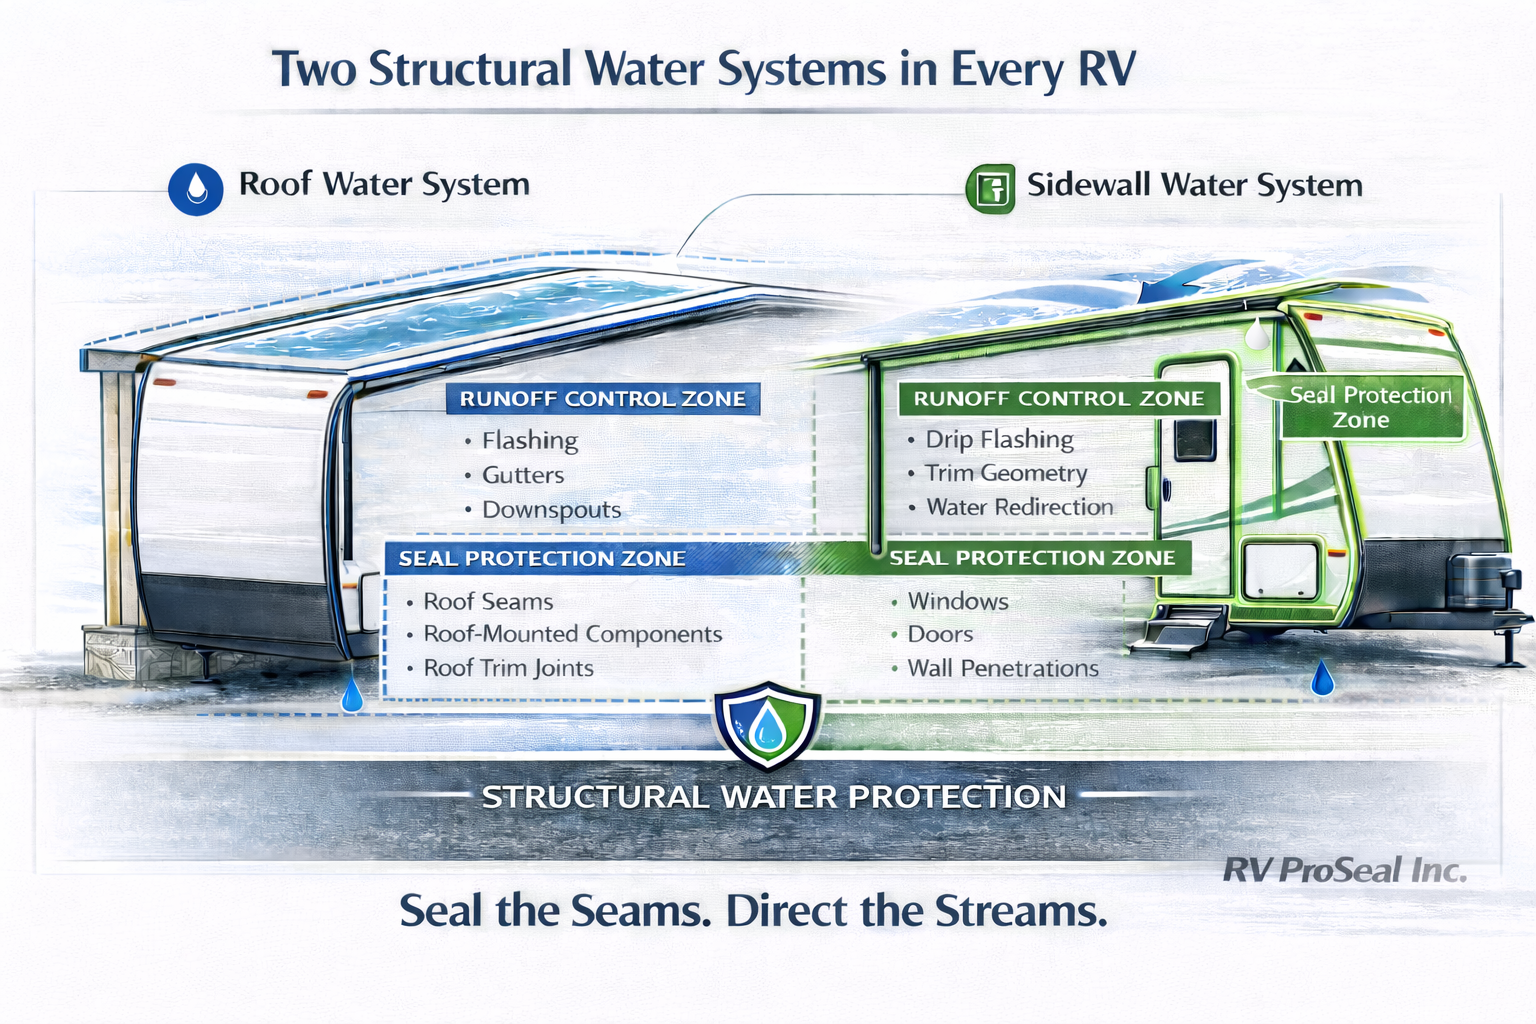
Fast triage: find the source
Leaks can travel along framing and show up far from the entry point. Start at the top and work down:
- Usual suspects: roof vents, skylights, AC shrouds, antenna mounts, front/rear cap seams, and ladder or rack penetrations.
- Edges and corners: perimeter mouldings and gutter rails often hide hairline gaps.
- Slide‑outs: torn wipers or flattened bulb seals let water wick inside.
- Windows & marker lights: failed butyl behind the flange; don’t confuse this with condensation.
Wipe suspected areas dry with a microfibre cloth and watch for fresh trails. If you can’t pinpoint it quickly, stabilize the area with a tarp (details below) and book mobile repair.
Your roadside leak kit (pack it now)
- Microfibre cloths and paper towels
- Isopropyl alcohol (70–99%) for surface prep
- Plastic scraper and utility knife
- Butyl tape (for flanges)
- RV roof repair tape (micro‑sealant tape)
- Non‑sag sealant for vertical seams; self‑levelling for horizontal laps
- Clear plastic sheeting and painter’s tape
- Soft roller for tape activation
- Nitrile gloves and safety glasses
- Small tarp, paracord or ratchet straps, and a pool noodle or foam ridge
Temporary fixes that hold (without causing new problems)
General rules:
- Clean, dry, then patch. Alcohol wipe → dry → apply.
- Warm products stick better; keep tapes/caulks inside the coach until use.
- Avoid silicone on EPDM—it rarely bonds well and complicates the permanent fix.
EPDM or TPO rubber roofs
- Small seam or pinhole: bridge with roof repair tape, extending at least 50 mm (2") past the damage on all sides. Roll firmly to activate the adhesive.
- Cracked lap sealant at a vent: scrape loose debris, wipe, then add self‑levelling sealant around the flange. If rain is active, dry the area to be caulked, apply of the crack & keep dry for at least till it skins over by tenting the zone. Sit, wait the hour, double check for skinning, remove the tenting and double check at your next stop.
Fiberglass or aluminum roofs
- Hairline crack: Clean, dry, and apply repair tape. To avoid wrinkles, make relief cuts in the tape for curved corners.
- Loose trim screws: back out, add a tiny piece of butyl under the screw head, and snug (don’t strip). Cap with a dab of non‑sag sealant.
Skylights and roof vents
- Leaking flange: Do the same as listed above under Cracked Lap sealant at a vent.
- Cracked lid: lay plastic sheeting over the lid and tape it to the housing as a rain bonnet. Replace the lid at the next stop.
Slide‑outs
- Torn wiper seal: Open the slide if safe, and add a temporary “gasket” from an old bike rubber inner tube cut to bridge the rip using rubber adhesive. Have the wiper seal replaced as soon as possible.
- Split bulb seal: Same advice as above.
Windows and marker lights
- Top‑edge weep: run painter’s tape as a small “drip cap” over the frame to shed water.
- Important: never block factory weep holes at the bottom of window frames.
Tarping the right way (so it doesn’t pool or flap)
A sloppy tarp can cause more damage than a shower. For short drives or overnight:
- Create a
peak with a pool noodle in the center to shed water.
- Anchor cords to frame points or wheels—not to awning arms or gutters.
- Pad sharp edges with towels to protect the roof membrane.
- Keep the tarp tight; loose fabric will flap and scuff the roof.
Dry the inside and prevent mold.
- Catch drips in pans; swap towels often.
- If you have shore power, run a small fan and a dehumidifier.
- Open cabinet doors near the leak to help air circulate.
- Wipe down wet wood trim quickly; standing water leaves stains and invites mold.
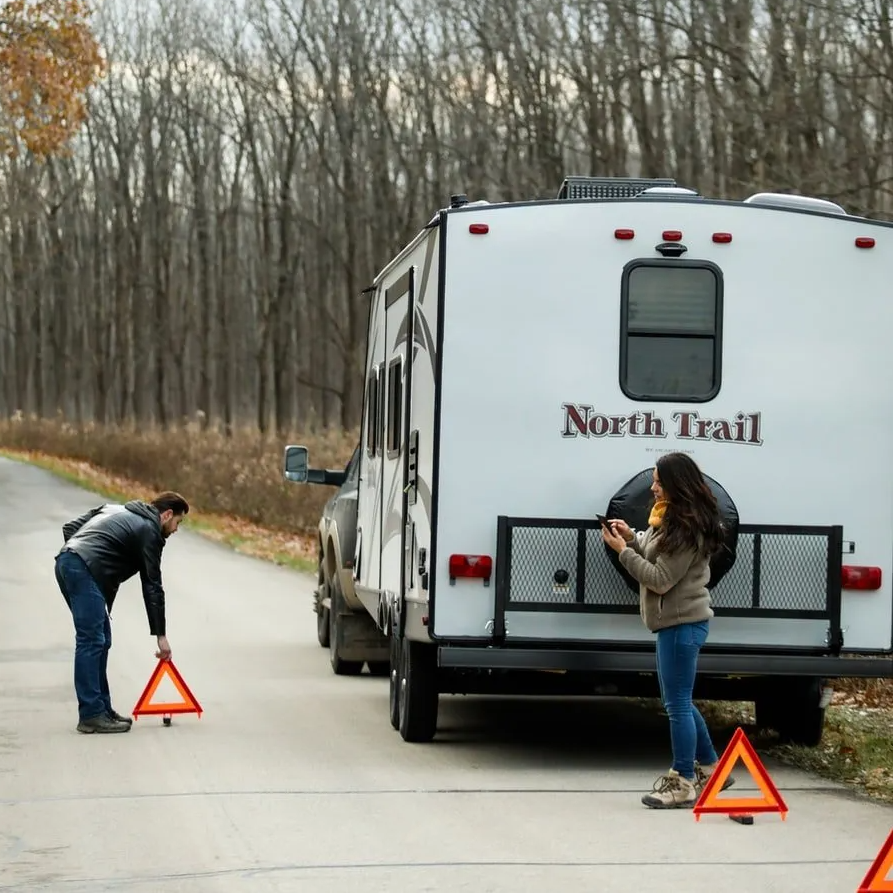
When to stop and call a mobile repair technician immediately
- A tear larger than your hand
- Bulging or sagging ceiling panels
- Water near electrical panels, flickering lights, or a burning smell
- Storm conditions that make roof access risky
At this point, containment (tarp and towels) is the smartest move. Book mobile repair and document everything.
Document for a smooth hand‑off
- Take photos of the leak path, the roof area, and each temporary patch.
- Note the products used and the time you applied them.
- Keep any loose parts (old screws, cracked lids) in a labelled bag.
This record helps the mobile repair technician plan materials and speeds up the permanent fix.
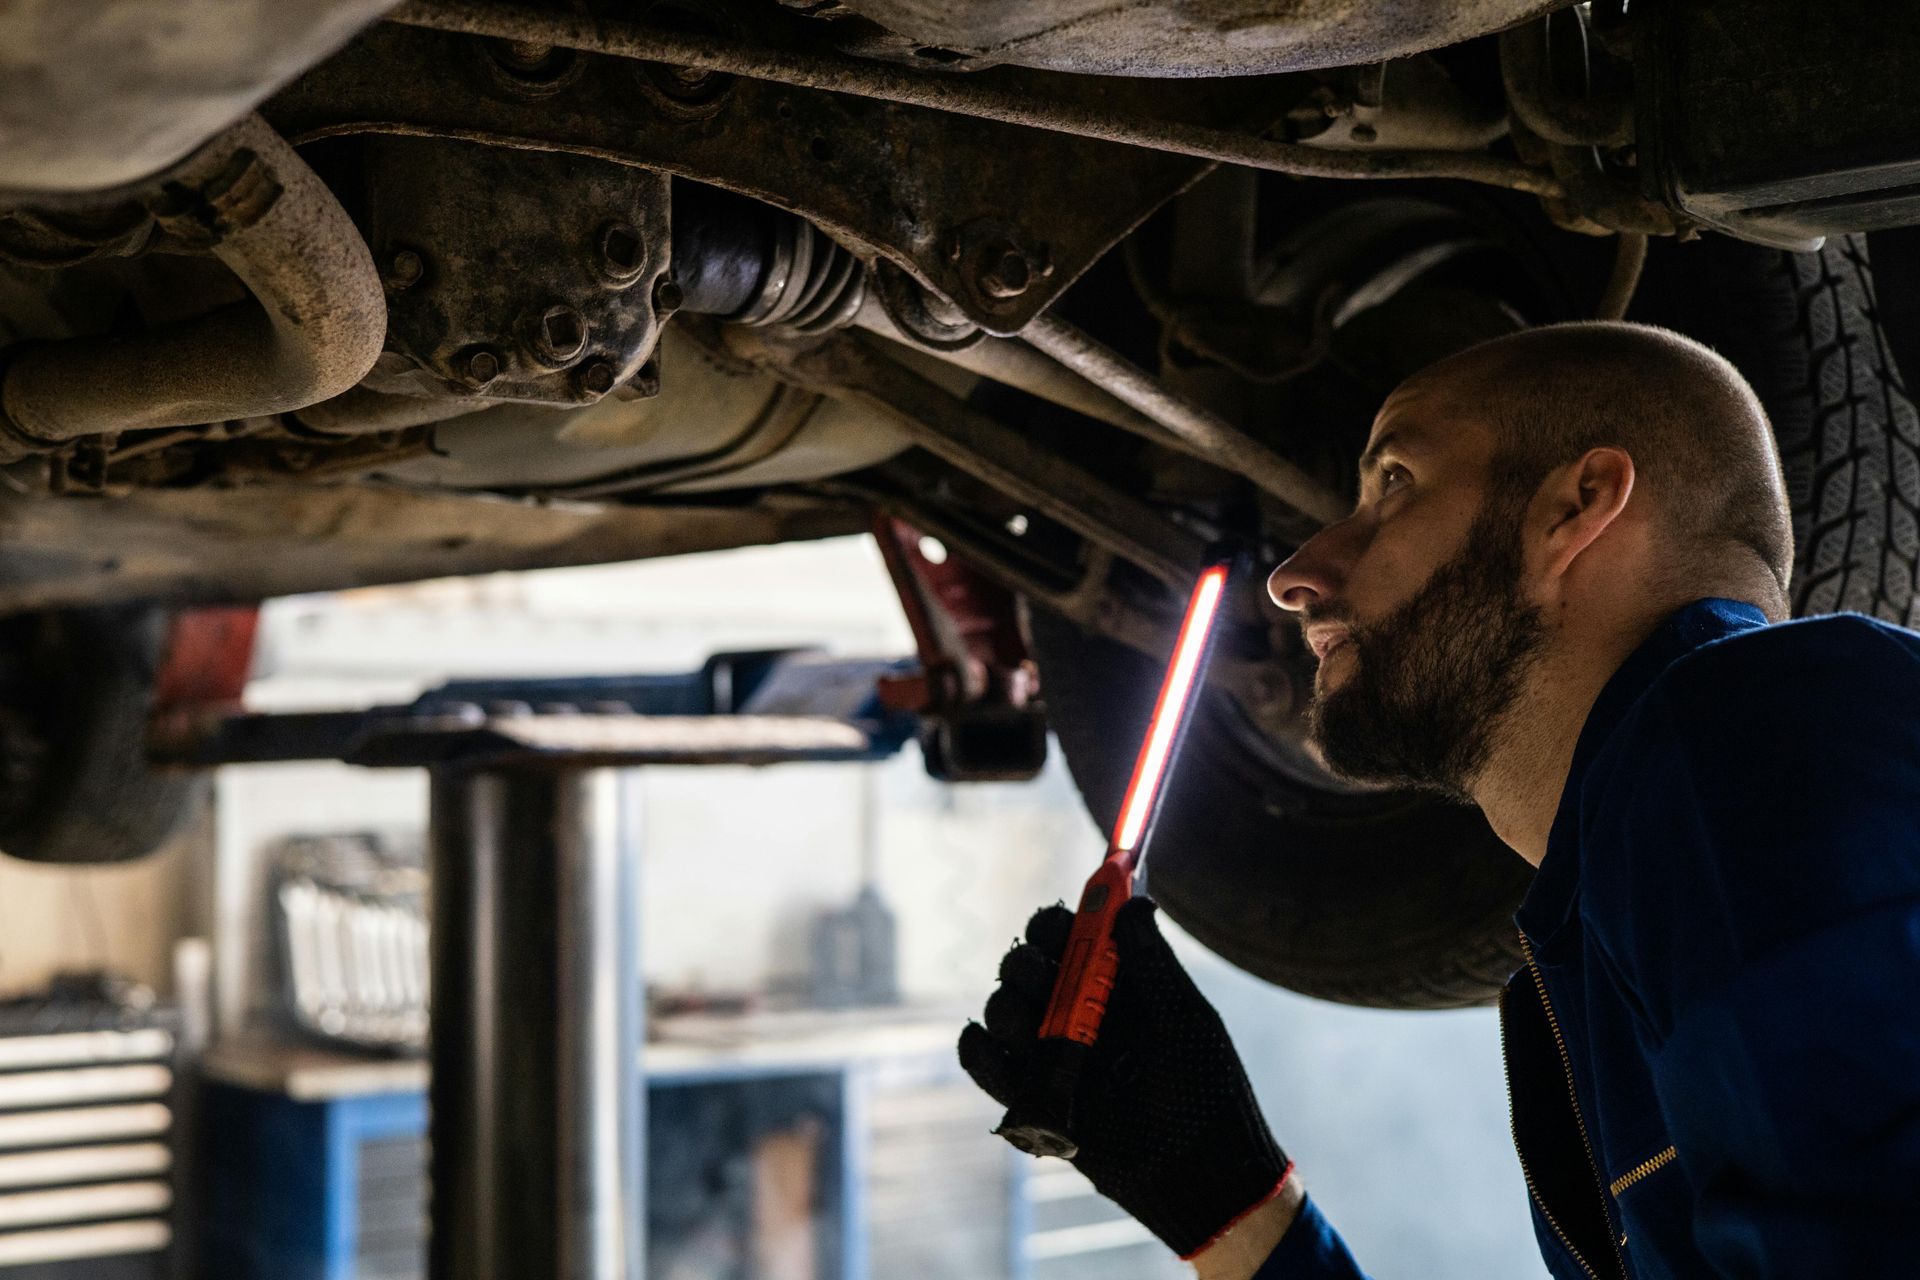
What your tech will likely do next
There are a couple of things you can learn from professional RV inspection services. For one, expect a moisture survey with a meter, a controlled removal of temporary patches, proper surface prep, and compatible sealant or tape systems matched to your roof type. If hidden damage is found, they’ll propose a step‑by‑step repair plan so you’re not guessing.
Need help now?
If you’re on the shoulder with water finding its way in, patch what you can and reach out. RV Pro Seal offers on‑site, professional
mobile repair in
Oakville for roof and leak issues—fast, friendly, and done right. We’ll get you watertight and back on the road with clear after‑care instructions.
You might also like